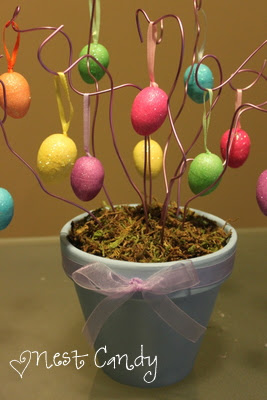
The materials you will need:
- Plastic Easter Eggs
- Yarn
- Hot Glue
- Scissors

The first step is to secure your yarn on one end of the egg. It doesn't matter what end you start with, just try to get it close to the center.

Continue to spiral the yarn around the egg, securing with hot glue. You want to press the yarn onto the egg to get a good bond. I can't tell you how many times I burned myself in this process, so be careful!
Continue this spiraling and gluing process all the way around the egg. It will get a little harder to keep the yarn layers tightly together towards the middle. I found that keeping the yarn loose in my hand while I wrapped it worked better than pulling tightly.
Also--be careful not to squeeze the egg. Unless you've glued the egg together, you might pop the egg open in the middle of your project. (Speaking from experience!)
This is a time consuming, sometimes finger burning process, but they are SO adorable! I made four multicolored ones and two blue ones for a pop of unexpected color.
What other ways have you taken simple Easter Eggs to unique, fabulous eggs? Let me know in the comments below!
If you missed the first Easter Decoration post about my Easter Egg Tree, that's because it was a guest post over at CaitsCreates. Don't forget to go check it out!
- - Happy Crafting! - -


No comments:
Post a Comment